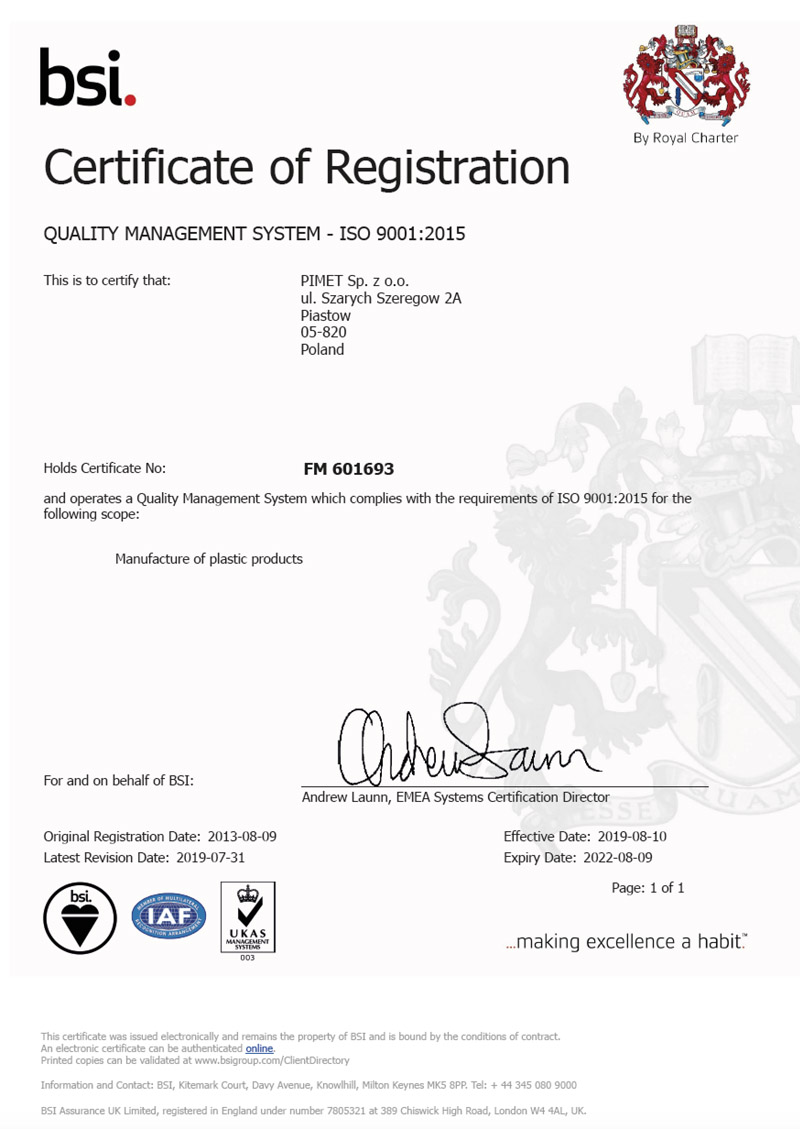
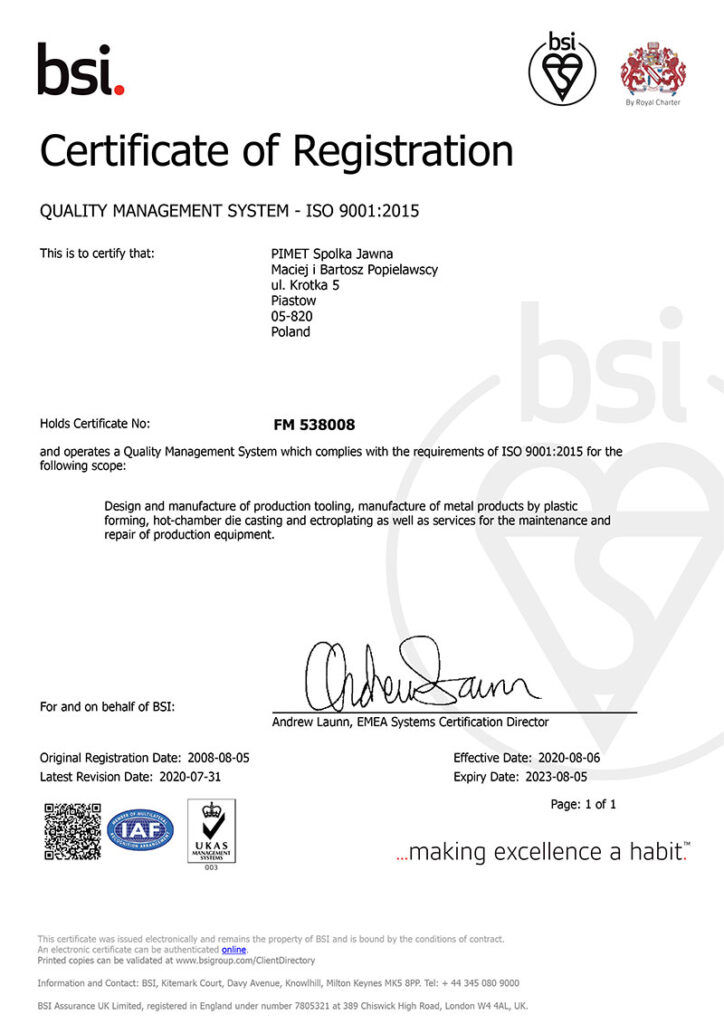
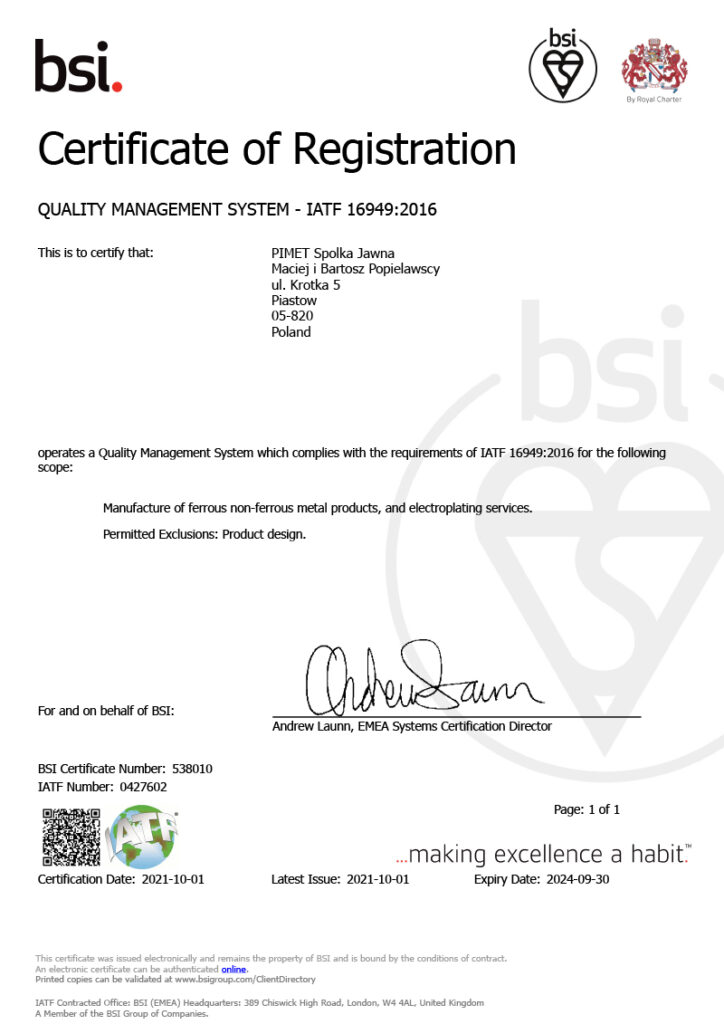
Our quality management system meets the following requirements:
- IATF 16949:2016 technical specification (for automotive industry products in the scope of manufacturing metal products using plastic works, zinc plating and die casting, excluding requirements concerning product design liability);
- ISO 9001:2015 (for other products and services related to the design and execution of production tooling, and the manufacture of metal products using machining, electrical discharge machining, die-casting, zinc plating, as well as the provision of production tooling maintenance and repair services).
The quality management system, which is continuously improved, is supported by our CRM system (for managing customer enquiries) and ERP system (for managing and supervising production orders).
In order to ensure that our manufacturing processes are duly supervised, a separate quality department has been established. The quality department has measurement tools for controlling the geometry and shape, roughness, hardness and calibration of small measuring equipment.
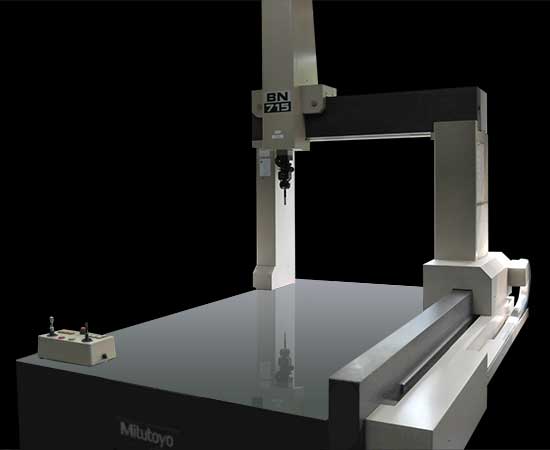
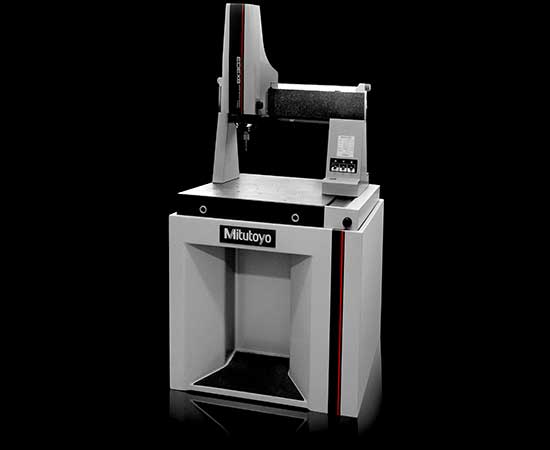
Coordinate measuring machine software:
- GEOPAK – for writing measuring programmes, basic geometrical parts, and form or position errors;
- CAT1000S – for determining deviations of surfaces in relation to the uploaded 3D model, generating runs and collision control, animation of the measurement course, CAD model importing;
- PRESETTING – for verification of settings of electrodes in the EROWA holders and correcting drilling in line with the electrode measurement results.
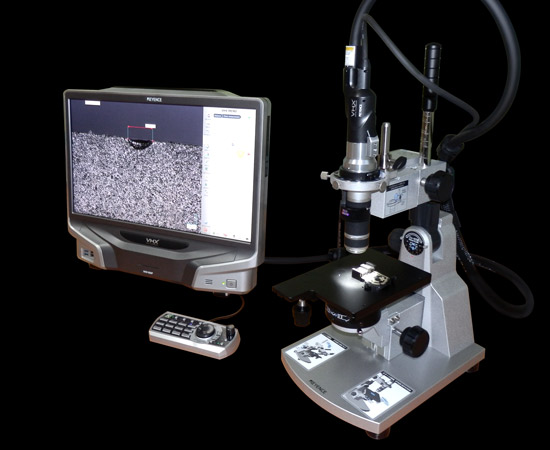
Digital microscope KEYENCE VHX-900F (magnification 200x) provides:
- the ability to observe the images seen by the microscope on the computer screen;
- image capturing;
- 2D measurement capabilities;
- 3D surface visualization.
Advanced optics and software ensure that images are always in focus. High-resolution HDR enables viewing of objects with low contrast or uneven surface brightness. The ability to display images on a split screen makes it easier to conduct comparative tests.
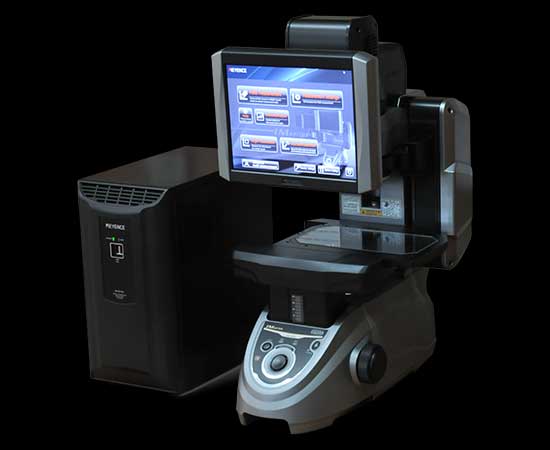
The Keyence measuring microscope has applications used for measuring flat geometrical parts and form errors. Moreover, it allows:
- programming of multiple measurements;
- statistical analysis of the results;
- so-called automatic measuring with the program independently identifying the product’s dimensions and performing measurements.
We care for our measuring equipment and hire qualified experienced staff to deliver reliable results. In our opinion, raising the quality of our services, gaining our clients’ trust and maintaining it is an extremely important element of cooperation.
